Royal Icing: What to Avoid
It might take several days before you assemble your Royal Icing creation supplies, as discussed in “Royal Icing: Assemble Supplies” on this website, so take the time to review more details about the process. It is important for the home baker to know what can go wrong.
Nothing is more disappointing than to spend an afternoon creating a batch of beautifully decorated sugar cookies only discover the next morning that all have been ruined over night.
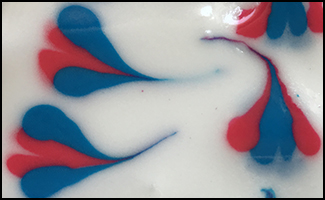
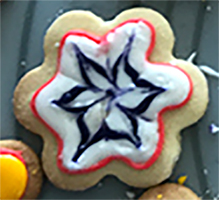
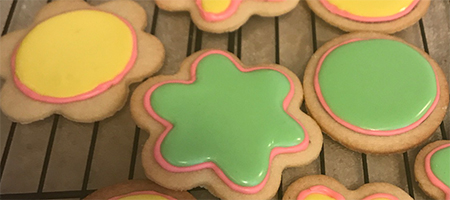
Most, if not all, ruined cookies are the result of improperly mixed Royal Icing consistencies. Problems include cracks, dimples, color bleeding, and dried frosting flakes marring freshly decorated surfaces. Consider these examples:
Colors can bleed into each other over drying time and are usually seen the next day after you’ve congratulated yourself for having created the perfect batch.
Bubbles and frosting collapses ruin what you thought were cute creations.
Piped lines are uneven and flooded areas do not stay within a boundary, which really destroy what you wanted to be a unique “hand crafted” look.
Flakes of dried icing on smooth surfaces mar cookies because you didn’t understand how time is required by constantly cleaning your hands, piping bags, and work surfaces while decorating.
Frosting surfaces have ripples because you didn’t understand what happens when you take too long to manipulate wet icing.
Stained hands, fingernails, and even preparation surfaces also occur when you don’t “clean, clean, clean” during the preparation process. Finger stains can last for more than 24 hours!
The above pictures are from my own initial cookies. Some of my biggest mistakes resulted from poor planning, a messy work surface, and not enough places to put my frosted cookies to dry. Hopefully, this series of tutorial lessons will help you avoid the worst cases and provide you with the skills to create your best!
And Your Objective?
Your objective is to make your Royal Icing smooth, your piping perfect, and your work area tidy.
Article Series
For Royal Icing recipes, CLICK HERE
To see a list of all articles in this series, CLICK HERE
Questions? Comments? Additions? Corrections? Write to Karen Little at karen@Littleviews.com
Written for Littleviews-Crafts.com by Karen Little, publisher. All rights reserved, but feel free to re-publish this article after contacting Karen so she knows where to find it.
