Royal Icing: Preparing Icing Nails to Make Flowers
While you can easily pipe lines and designs with Royal Icing, making Royal Icing flowers that you can use for transfers requires precision.
If you are both skilled and steady enough, it is possible to pipe flowers directly on your cookies, but if you make a mistake, you need to throw away (or “eat”) the cookie. By making transfers, which means that you make your design, let it harden, then “glue” it onto an iced cookie via a spot of Royal Icing, you save yourself from making mistakes.
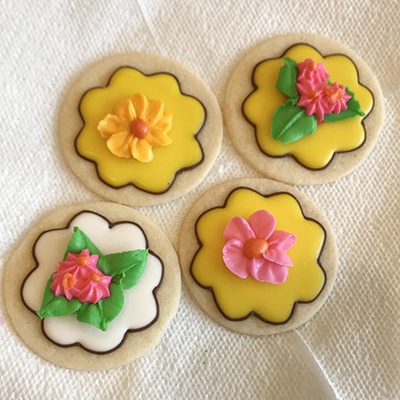
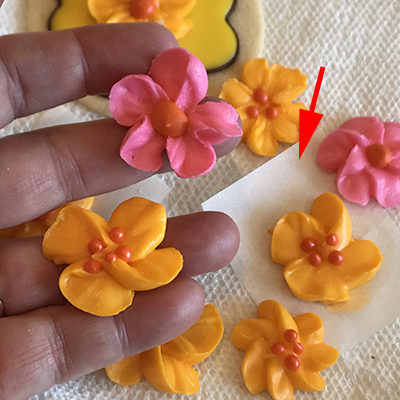
As an example, the picture below shows four previously iced cookies and on top of them, I placed previously dried Royal Icing flowers.
As of March 2019, I was new to making Royal Icing flowers so proceeded with nothing but online blogs and tutorials to guide me. Many recommended that I use frosting nails, like sold in a 6-pack on Amazon, topped with a grid to help control sizes.
At one time, Wilton, the famous baking implement supply company, sold tacky-backed frosting nail grids to paste on their nails, but that product is no longer available. Many copies, however, exist in blogs and on Pinterest, with a very complete article on the subject by The Barefoot Baker.
Many of the original grids are for very specific flowers. In using copies, however, I found that some of the information was confusing, so I made a universal grid that can be used for everything. Pick up a full page copy of it by CLICKING HERE.
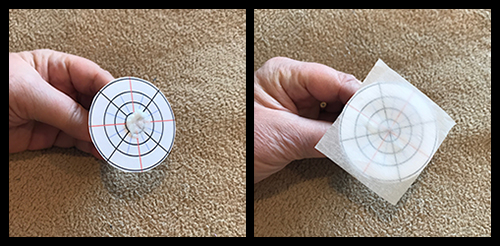
To use the grid, print out the PDF file (it fits on an 8.5×11 sheet of paper). It contains nine grids like the one seen above.
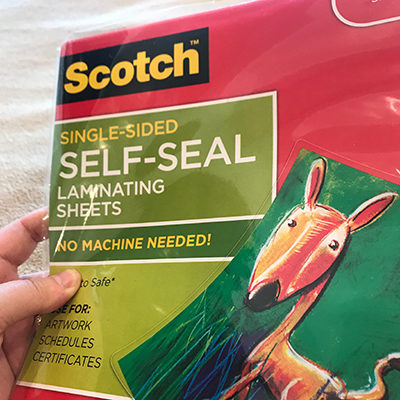
Roughly cut each grid out of the printout, and place the cutouts somewhat close together on the sticky side of a self-seal, laminating sheet. Cut the entire group of grids out of the laminating sheet and place them onto the sticky side of another laminating sheet so that they are sealed between the two sheets.
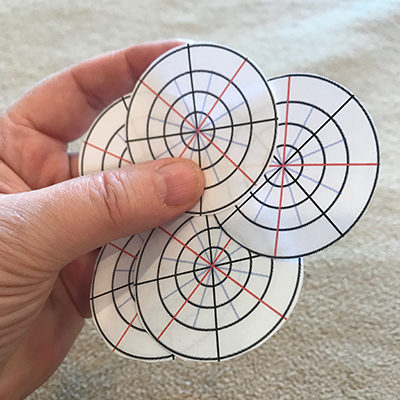
Once sealed, cut out each grid so they appear like in the following picture.
Now glue each grid to a frosting nail. You can use a stick glue or double-sided tape. You will want the grid to hold firmly while in use, but easy to remove as needed. A glue stick works well, and in the case of a tinted stick glue, the color disappears when dried.
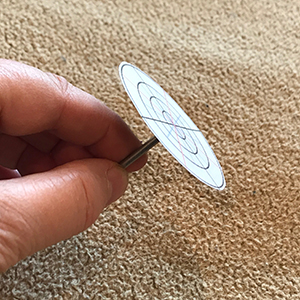
The final nail looks like this:
To use the grid-covered nail, dot the grid with a small amount of Royal Icing, then stick a square piece of parchment (or “waxed”) paper on it.
Pipe your Royal Icing flower onto the paper, using the grid as a guide. Slip the paper off the nail and set it and your newly created flower aside to dry.
Make several grids at the same time, more than you need for a day’s work. While they can be carefully wiped off after use and saved, if you try washing them, water seeps into the edges.
Links
- Tutorial on How to Use Piping Nails by The Barefoot Baker. Note that Lisa, the writer/publisher of this site as of April 2019 just survived a serious brain tumor operation. Check her site to find out more and wish her the best!
- How to Make Royal Icing Apple Blossom Flowers by Cookies Cupcakes and Cardio
- How to Use a Flower Nail to Pipe Royal Icing Flowers by Wilton
- How to Make Royal Icing Apple Blossom Flowers by Emma’s Sweets on Julia Usher’s Cookie Connection
- Cake Decorating Piping Techniques: How to Make Drop Flowers
- Piped Five Petal Blossom Basics Video Demonstration
Questions? Comments? Additions? Corrections? Write to Karen Little at Karen@Littleviews.com
Written for Littleviews-Crafts.com by Karen Little, publisher, on May 4, 2019. All rights reserved, but feel free to re-publish this article after contacting Karen so she knows where to find it.
